

Ghidra is a free and open-source tool for software reverse engineering. It is extensible, and allows for application-specific capabilities with small software bundles called extensions. It can be thought of as an open-source alternative to IDA Pro. Ghidra is written in Java, and uses the Swing framework for its GUI. Being Java-based, it is cross-platform, and therefore runs on Windows, Linux, and macOS.
History
Ghidra was built by the U.S. National Security Agency (NSA), in particular their Research Organization, for its own internal use, until the NSA released it publicly at the RSA Conference in 2019. Ghidra is over 1.2 million lines of code. Comments in the source code suggest that development at the NSA was underway at least as far back as 1999. A version history:

Origin of the Name "Ghidra"
Ghidra is the name of a fictional three-headed monster from the Japanese Kaiju (monster movie) tradition. Think of it like a three-headed dragon. The theme of three-ness appealed to Ghidra's creators, whose goal was to create one tool where previously three were required: 1) a hex editor, 2) disassembler, and 3) debugger. With Ghidra, you get all three in one.

Overview of Features
Popular use cases include: malware-analysis, algorithm reconstruction, vulnerability discovery, debugging, and as an educational aid—disassembly is a great way to learn about how programs run.
Ghidra has many of the features you would expect in a tool of this type. To list a few, there are function graphs, which show a graphical representation of the program's control flow. There is an inline assembler, for making small changes to the code. There is a version tracking feature; it allows following how functions and data get moved around from one version of a binary to the next, allowing the user to focus on new code, not the same function moved to a different place. There is scripting support for both Java and Python. The GUI is completely customizable, and windows can be reordered, docked in different locations, and dragged outside the main window. One neat feature is if you come across an assembly instruction you aren't familiar with, you can click on it and be taken to the CPU vendor's datasheet for that instruction. Ghidra supports multi-user analysis and collaboration. You can host a project on a server, and then a team of people can work together to reverse engineer a set of binaries. All the instruction set architectures you care about are supported. (AMD64, AArch64, RISC-V, etc.)
I could go on, but rather than try to describe the tool, the best way to learn about it is to jump right in and try it out. That's the point of the rest of this article.
Ghidra and UEFI
Ghidra works great with Windows binaries and Linux binaries of all types, but as readers of BasicInputOutput.com have come to expect, this article will focus on how to use Ghidra with BIOS firmware. Let's start with the installation process, and then demo the tool.
Installation
Installation is not bad, but a step-by-step explanation will make it much easier.
1. Install the JDK (not the JRE). You'll need to install the Java Development Kit, v17 or later. I installed v21 of Oracle's JDK, but OpenJDK is recommended by the Ghidra team.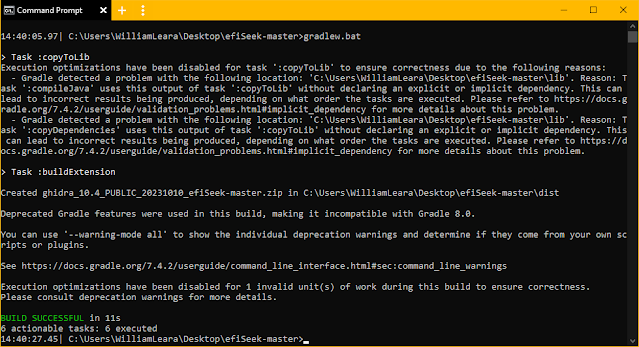
Demonstration
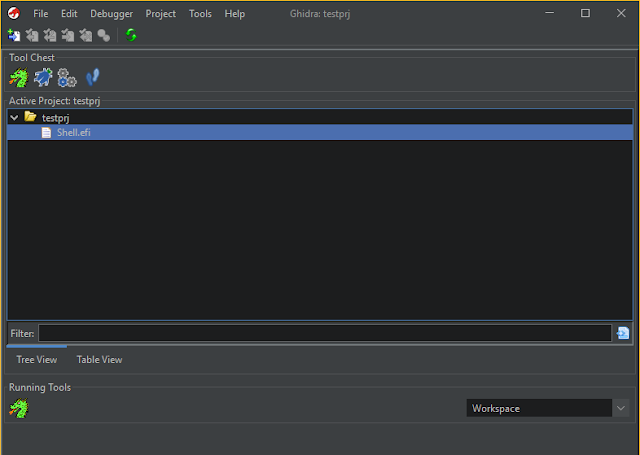
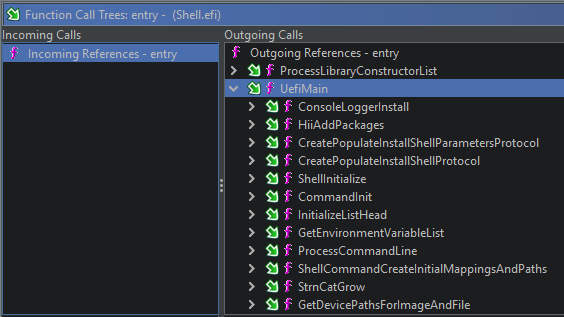
As a test, I built the latest UEFI shell from the EDK2, and added it to a test project in Ghidra. Clicking on the Ghidra monster icon launches the CodeBrowser. Some screenshots to give you an idea of what the tool is capable of:


More Resources
I hope you found this introduction helpful. This is a tool you will want to have in your toolkit. Here are a couple of videos worth watching if you want to learn more about Ghidra.
Come Get Your Free NSA Reverse Engineering Tool! (RSAC 2019)

Really nice Post William!
ReplyDeleteThanks Rafael! I'm considering addition posts on Ghidra, for example https://github.com/al3xtjames/ghidra-firmware-utils, and more in-depth experiments. Stay tuned! :)
Delete